Brenda Craddock taught an excellent unit on making primitive bellows on the second day of the Butser archaeometallurgy course, and this is an attempt to capture some of that excellent teaching.
The bellows pattern used was referred to locally as a "Roman Kite Bellows", although I've been unable to find that term used elsewhere. Brenda confirmed that "No one actually knows what bronze age bellows looked like.", but her design is intentionally "As simple as possible" and based on "later descriptions and depictions" of them.
The bill of materials is relatively short:
- one large tanned goat skin
- one hollow nozzle (we used a segment of bamboo)
- two short, smooth, regular, handles (dowels work)
- leather awl with thread
- a few feet of rough twine
- (optional) gelatin glue
The bellows pattern (figure 1 below) itself was designed to fit into an animal skin with maximum utility, with the narrow bit to the left terminating at the scruff of the neck, and the rounded section on the right straddling the tail and haunch. The rest is made as broad as the hide will allow. Caveat: I was unable to trace her pattern directly, so this is a projection from some images captured during the class.
Production
General notes
- The bellows are produced such that the handles have the rough/suede side of the hide on their outside, so that they seal suede-against-suede rather than smooth-to-smooth. This gives a better seal, which is essential.
- The bellows can be fashioned such that the seams are on either side, although in this class all the bellows we produced had the seams on the outside.
The foot
See figure 2a. The hide is bent slightly along the A-B line, then points C and E are brought together. The edges A-C and A-E are sewn together starting from point C/E and progressing toward A, so as to avoid any misalignment. Then points D and E are brought together, and sewn as above, from the point D/E toward B. Lastly, a small triangular gusset is sewn into the V formed by the edges CF and DG. The result should look something like figure 2b.
 |  |
| Fig 2a |
Fig 2b |
The snout
See figure 3a. The hide is curled around the A-B line, joining point C with E and D (roughly) with F. Sewing proceeds from point C/E toward point D/F, so that the joint at the handle tabs is clean and any discrepancies occur at the snout. Figure 3b shows the curl and the point from which to sew.
 |  |
| Fig 3a |
Fig 3b |
The handles
As we mentioned before, the hide is wound around the handles such that the rough side is on the outside to provide the best possible seal when used. Once the handle sleeves have been sewn, the handles are inserted most of the way into them, and the bottom of both sleeves are pinched together and sewn flat to prevent air from escaping from the joint. Figure 3b above shows the measuring for this process. Figure 4 shows the bellows at this stage.
 |
| Fig 4 |
The vent
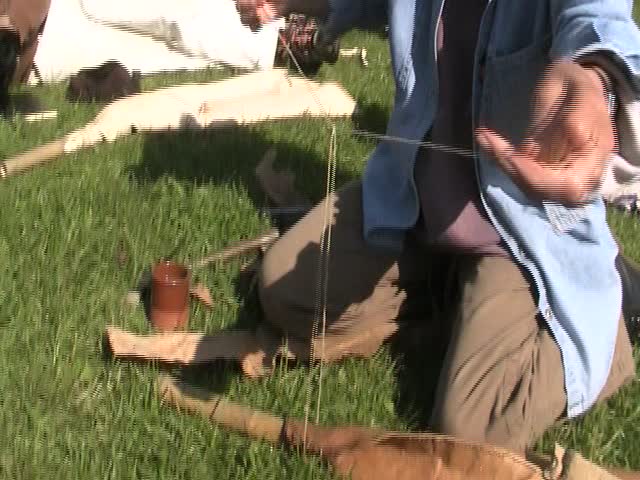
The hollow vent for the bellows is placed in the "snout" of the hide we have sewn. It may be liberally coated with gelatin glue, as may the inside of the snout. Then a meter of twine is wound about the joint between the two. The twine is laid so that its midpoint is beneath the snout/vent joint (see Fig 5a), then wound from both sides. It is single-knotted at least every other winding to prevent slippage, then tied securely when the ends are reached. Fig 5b shows the completed tie. Note that there is considerable linear coverage along the joint.

|
 |
| Fig 5a |
Fig 5b |
Usage
Here is Ryan Watts, a classmate, using the constructed bellows:
Airflow
We measured the approximate air displacement of a single push of the bellows and arrived at a volume of 1.4 liters. With an average of 1.25 pushes per second over an hour long session, we get an airflow of 105L/min. Vigorous pumping increases the pushes per minute but usually decreases the volume per push somewhat. It would be extremely difficult for someone to sustain over 200L/min for an hour.
Conclusions
- The airflow is easily sufficient for artisinal production of gold,
silver, lead, mercury, copper, and tin. It is doubtful whether a single
bellows of this type would be sufficient to smelt iron.
- Given a good leather awl and all the materials required, a bellows of this type could probably be constructed by an experienced craftsman in less than two hours.
- The materials required could largely be taken from a single animal (Brain-tanned hide, gut/sinew thread and twine, bone nozzle)
- Considering the number of materials, parts, and processes required to make them, a bellows might be among the most complicated tools on a bronze age farmstead.